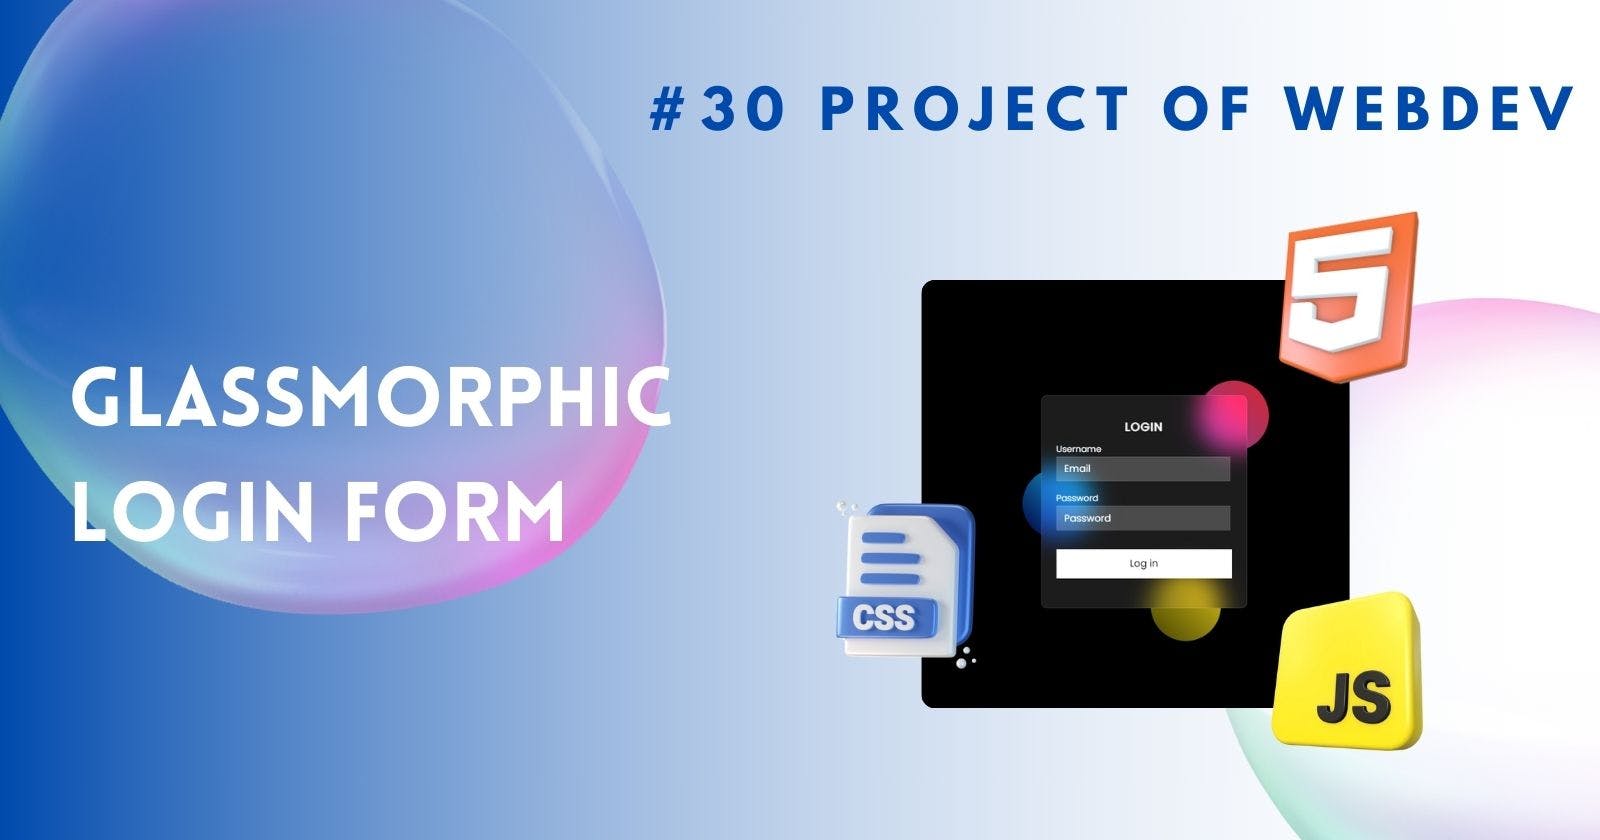
Creating Glassmorphism Login Page with HTML and CSS
Stunning Glassmorphism Login Page with HTML and CSS
Glassmorphism is a design trend that has gained popularity for its sleek and modern look, mimicking frosted glass panes. In today's digital era, having an attractive and user-friendly login page is crucial for websites and applications to provide a seamless user experience.
Introduction to Glassmorphism
Glassmorphism involves creating a translucent effect that gives the illusion of elements floating on top of each other, similar to layers of frosted glass. This design style adds depth and visual interest to interfaces, making them more engaging for users.
As part of the challenge, Day 8 focuses on implementing the glassmorphism effect into a login page using HTML and CSS. This hands-on exercise will help you understand how to achieve a modern and stylish login interface.
Setting Up the HTML Structure
To begin, create the basic structure of the login form using HTML tags such as <form>, <input>, and <button>. Define the necessary elements like username and password fields within the form.
 <div class="card">
        <h4 class="title">Login</h4>
        <div class="form-input">
          <label for="username">Username</label>
          <input type="email" id="username" placeholder="Email" />
        </div>
        <div class="form-input">
          <label for="password">Password</label>
          <input type="password" id="password" placeholder="Password" />
        </div>
        <button class="login-btn">Log in</button>
      </div>
Styling with CSS for Glassmorphism Effect
Apply CSS properties like background-color, box-shadow, and border-radius to achieve the frosted glass effect on the login form. Experiment with different values to fine-tune the appearance until you achieve the desired glassy look.
.card {
    backdrop-filter: blur(16px) saturate(180%);
    background-color: rgb(255 255 255 / 11%);
    border-radius: 8px;
    border: 1px solid rgba(255, 255, 255, 0.125);
    display: flex;
    flex-direction: column;
    align-items: center;
    width: 15rem;
    padding: 20px 20px;
    padding-top: 20px;
}


.title {
    text-transform: uppercase;
    letter-spacing: 1px;
    margin-top: 10px;
}

.form-input {
    margin: 5px 0;
}

.form-input label {
    font-size: 12px;
}

.form-input input {
    backdrop-filter: blur(16px) saturate(180%);
    background-color: rgb(255 255 255 / 11%);
    border: 1px solid rgba(255, 255, 255, 0.125);
    width: 90%;
    padding: 6px 10px;
    color: white;
    outline: none;
}

.form-input input::placeholder {
    color: white;
}

.login-btn {
    background-color: white;
    color: black;
    width: 100%;
    padding: 10px 0;
    margin: 20px 0;
    cursor: pointer;
    border: none;
}
Key Elements of this Design:
Adding Background Blur Effect
Enhance the glassmorphism effect by adding a background blur effect behind the form elements. This will create a sense of depth and make the form stand out against the blurred background.
Creating Input Fields and Buttons
Design stylish input fields and buttons that complement the glassmorphism theme. Use CSS properties like padding, margin, and text-align to customize their appearance and layout.
Styling the Input Fields
Customize the input fields further by adjusting properties such as border, font-size, and color. Ensure that the fields are visually appealing while maintaining usability and accessibility.
Adding Hover Effects
Implement hover effects on interactive elements like buttons to provide visual feedback to users when they interact with them. Use CSS pseudo-classes like :hover to change styles upon mouseover.
Implementing Transitions for Smooth Interactions
Incorporate CSS transitions to create smooth animations when elements change states, such as when hovering over buttons or focusing on input fields. This subtle touch adds polish to your design.
Making the Login Form Responsive
Optimize your design for different screen sizes by making it responsive using media queries in CSS. Ensure that your glassmorphism login page looks great on various devices, from desktops to mobile phones.
Output:
Click Here if embed not works !!!
Conclusion
Creating a glassmorphism login page with HTML and CSS is not only a fun challenge but also a valuable learning experience in web design. By mastering these techniques, you can elevate your design skills and create visually stunning interfaces that captivate users.
FAQs:
Can I apply glassmorphism effects to other parts of my website besides login pages? Yes, you can incorporate glassmorphism into various elements like headers, buttons, or cards to create a cohesive design theme across your website.
Is it necessary to have prior coding experience to create a glassmorphism login page? While some familiarity with HTML and CSS is beneficial, you can follow tutorials and guides to learn how to implement glassmorphism effects even as a beginner.
How can I ensure my glassmorphism login page is accessible to all users? Consider using accessible color contrasts, providing alternative text for images, and testing your design with screen readers to ensure inclusivity.
Are there tools or frameworks that can help streamline the process of creating glassmorphic designs? Yes, there are CSS frameworks like Bootstrap or libraries like Glassmorphic.css that offer pre-built components for achieving glassmorphism effects.
What are some common pitfalls to avoid when designing with glassmorphism? Avoid overusing transparency, ensuring readability of text over translucent backgrounds, and maintaining consistency in design elements throughout your website for a cohesive look.
